
What Is a Smoke Test, and Why Run One First?
A smoke test is the shortest possible check that something basic works before you invest time building on top of it. Before you spend an afternoon wiring up tables, relationships, and DAX measures in Power BI, spend five minutes confirming that Power BI can actually reach your Maverick data with the credentials you have. If the smoke test passes, you know your API key, your account ID, and your network connection are all correct — and any problems you hit later are report-building problems, not connection problems.
This guide is deliberately narrow. It does not cover dashboards, relationships, or DAX — for that, see Power BI OData Integration once your smoke test passes. It also assumes no prior Power BI experience. Every click is spelled out, and there is exactly one query to paste — not eleven.

Step 1 — Install Power BI Desktop
Power BI Desktop is Microsoft's free report-building application. It only runs on Windows. The easiest way to install it is through the Microsoft Store — no administrator rights are required, and updates install automatically in the background.
- Press the Windows key and type Microsoft Store, then press Enter.
- In the Store's search bar, type Power BI Desktop and press Enter.
- Select Power BI Desktop from the results — it is published by Microsoft Corporation.
- Click Get (or Install) and wait for the download to finish. This can take a few minutes.
- Click Open, or find Power BI Desktop in your Start menu afterward.
Power BI Desktop is free to use for building and viewing reports on your own computer — no Microsoft 365 subscription or Power BI Pro license is needed for anything in this guide.
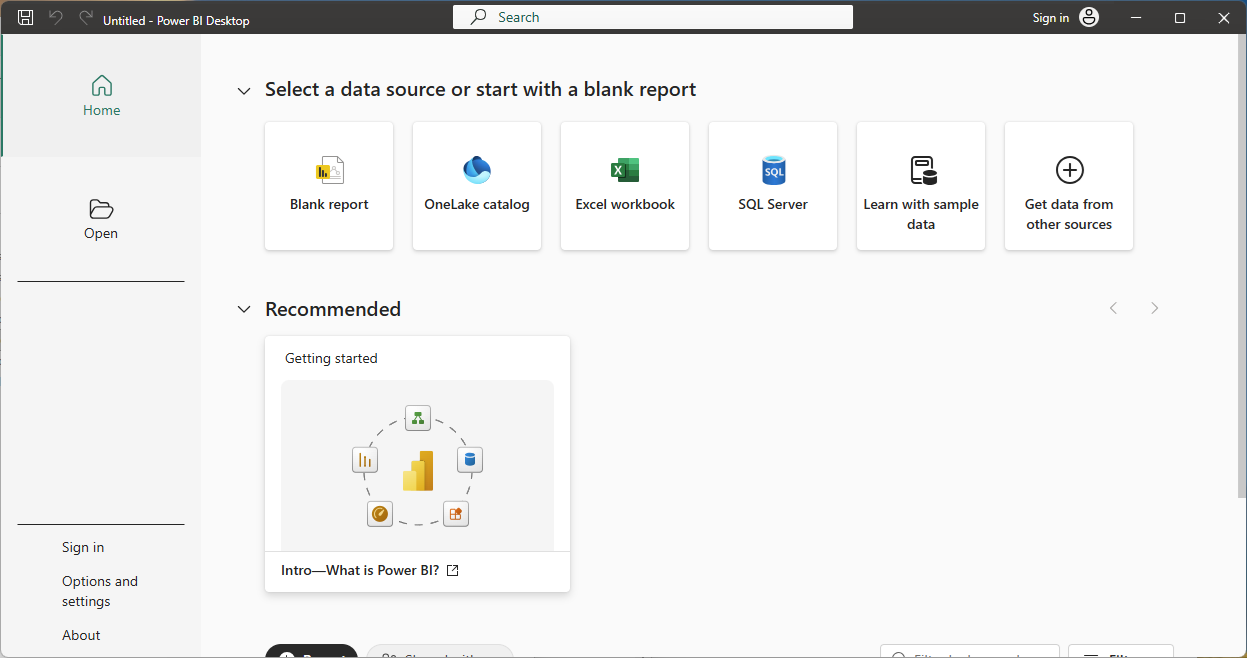
When Power BI Desktop opens for the first time, you may see a sign-in prompt. You can close it or click Skip — signing in is not required for anything in this smoke test.
Step 2 — Generate Your OData API Key
Every request to Maverick's OData feed must include an API key. You generate this key from inside Maverick itself, not from Power BI.
- Open Maverick and log in with your account.
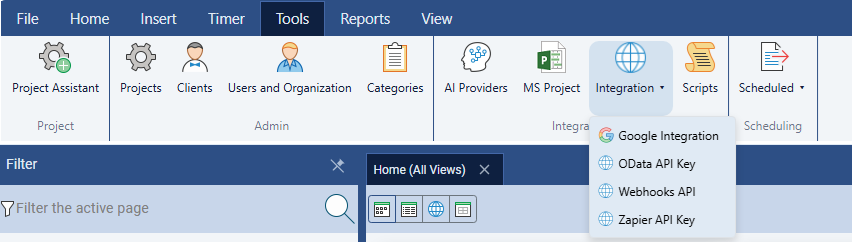
- Click the Tools tab in the ribbon.
- Click the Integration dropdown button.
- Select OData API Key from the menu.
The OData API Key dialog opens. If you have never generated a key before, the Active keys list will be empty.
- Click Generate New Key.
- Type a label so you remember what the key is for — for example, Power BI Smoke Test.
- Click Copy to Clipboard right away.
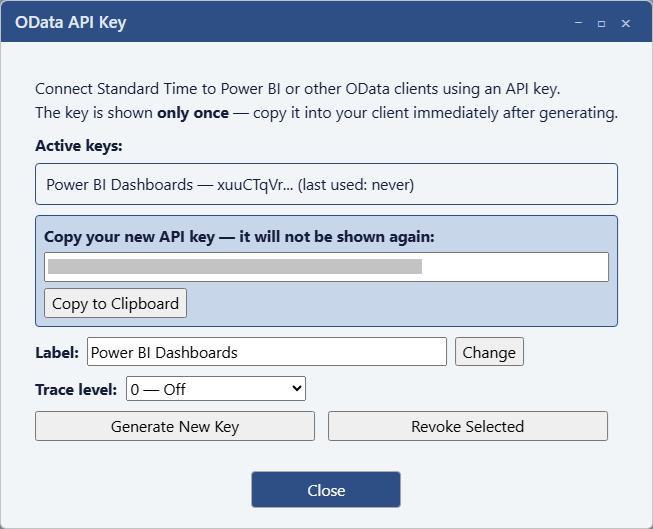
Copy the key now — this is the only time you will see the full value. Maverick stores only a scrambled (hashed) copy of your key for security, so if you close this dialog without copying it, you cannot recover it; you would have to generate a new one. Paste it somewhere safe temporarily, such as Notepad, until you paste it into Power BI in the next step.
Find Your CID (Cloud Accounts Only)
If your Maverick account runs on the Maverick cloud (stcloud67.com), every OData request also needs a second value called the CID — a long alphanumeric string that tells the server which company's data to return. Find it in your Maverick account settings, or in the address bar while logged into the cloud site.
If Maverick is installed on your own server (on-premise), you do not need a CID at all — skip this and leave it out of the query in the next step.
Step 3 — Run One Simple Test Query
Rather than pulling all eleven tables, the smoke test uses just one — Categories. It is one of the smallest tables in most Maverick accounts and has no date filters to get wrong, which makes it the fastest way to prove the connection works end to end.
Open a Blank Query
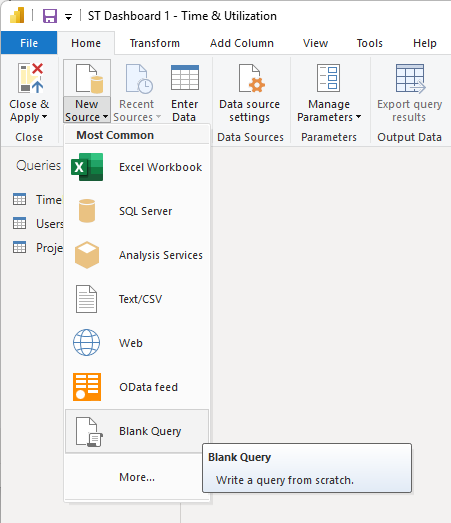
- In Power BI Desktop, click the Home tab.
- Click the small arrow below Get Data.
- Scroll to the bottom of the list and click Blank Query.
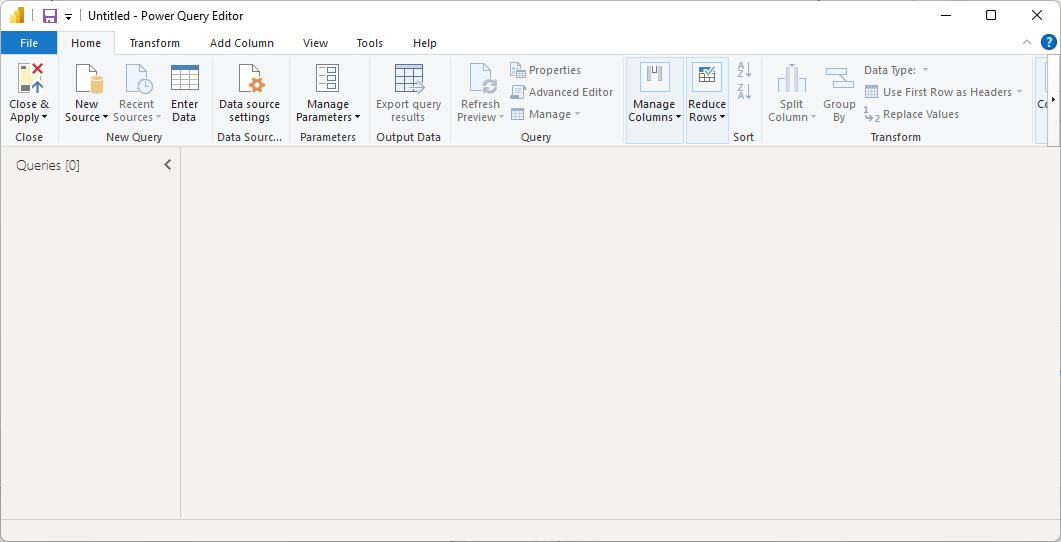
Open the Advanced Editor
The Power Query editor opens in a new window with one empty query. Click Home → Advanced Editor on its ribbon.
Paste This Query
Select all the placeholder text in the Advanced Editor window and delete it. Paste this instead:
let Source = OData.Feed( "https://stcloud67.com/odata/Categories?cid=YOUR_CID_HERE", null, [Headers = [#"X-Api-Key" = "YOUR_API_KEY"]] ) in Source
Now make two small edits:
- Replace
YOUR_CID_HEREwith your real CID — or, for on-premise installs, delete the entire?cid=YOUR_CID_HEREportion so the URL ends atCategories. - Replace
YOUR_API_KEYwith the key you copied in Step 2.
Click Done.
Step 4 — Read the Result
Within a few seconds, Power Query either shows you a table of data or a red error banner. Either way, you now know exactly where things stand.
Success: Rows Appear
If a table appears — even a small one with just a few category names — your connection is fully verified. The API key, the CID, and the network path all work correctly. You are ready to move on to the full Power BI OData Integration guide and pull in the rest of your tables.
An empty table with zero rows and no red error also counts as a pass — it simply means your Categories list happens to be empty right now. The connection itself is working; there is just nothing to show yet.
Error: Unauthorized (401)
This means the X-Api-Key value was missing or did not match an active key on your account. Maverick returns the same generic message whether the key was left out entirely or simply mistyped, so double-check for a stray space or a partially copied key. Go back to the OData API Key dialog, generate a fresh key, and paste it again carefully.
Error: Forbidden (403) — "HTTPS is required"
Maverick's OData feed only accepts secure connections. This error means the URL used http:// instead of https://. Check the beginning of your pasted query — it should read https://stcloud67.com/odata/....
Error: Service Unavailable (503) — "Customer not found"
This is the one surprise in this guide: a wrong or missing CID does not come back as zero rows. It comes back as this specific error, naming the CID value that could not be found. If you see it, re-check your CID in Maverick's account settings — it is a long string, easy to mistype or truncate when copying.
Error: Bad Request (400) or Not Implemented (501)
These only apply if you changed the query — for example, adding a $top value over 10,000, or a filter using contains() or startswith(), neither of which the feed supports. If you pasted the query above exactly as written, you will not encounter either of these on the smoke test.
Optional: Check the $metadata Endpoint
For a second, independent confirmation that goes outside Power BI entirely, you can browse the feed's schema document directly. Because HTTP headers cannot travel in a plain URL, this endpoint cannot simply be pasted into Chrome — that would produce a 401, since the X-Api-Key header would be missing.
The free ModHeader Chrome extension solves this. Install it, add a request header named X-Api-Key with your key as the value, then visit:
https://stcloud67.com/odata/$metadata?cid=YOUR_CID_HERE
A page of XML describing every entity set confirms the feed is reachable and your key works — the same signal as the Power BI test, from a completely different tool. Disable the ModHeader rule when you are done. For the full field-by-field breakdown of everything in that schema document, see the OData Schema Reference.
You Passed the Smoke Test — What's Next?
With the connection confirmed, here is where to go depending on what you are building:
- Power BI OData Integration — the full walkthrough for pulling in all eleven tables, building relationships, and adding DAX measures.
- OData Schema Reference — every entity set, every field, its data type, and its foreign-key relationships.
- Four Visually Striking Power BI Dashboards — copy-paste queries and DAX for finished dashboards once your tables are loaded.
- Zapier Automation Integration — if you want to react to changes the moment they happen, rather than refreshing a report on a schedule.
- Native Webhooks Integration — if you want those same real-time events delivered directly to your own server with HMAC-signed HTTPS POSTs, with no third-party account required.